Open HeaderGenie
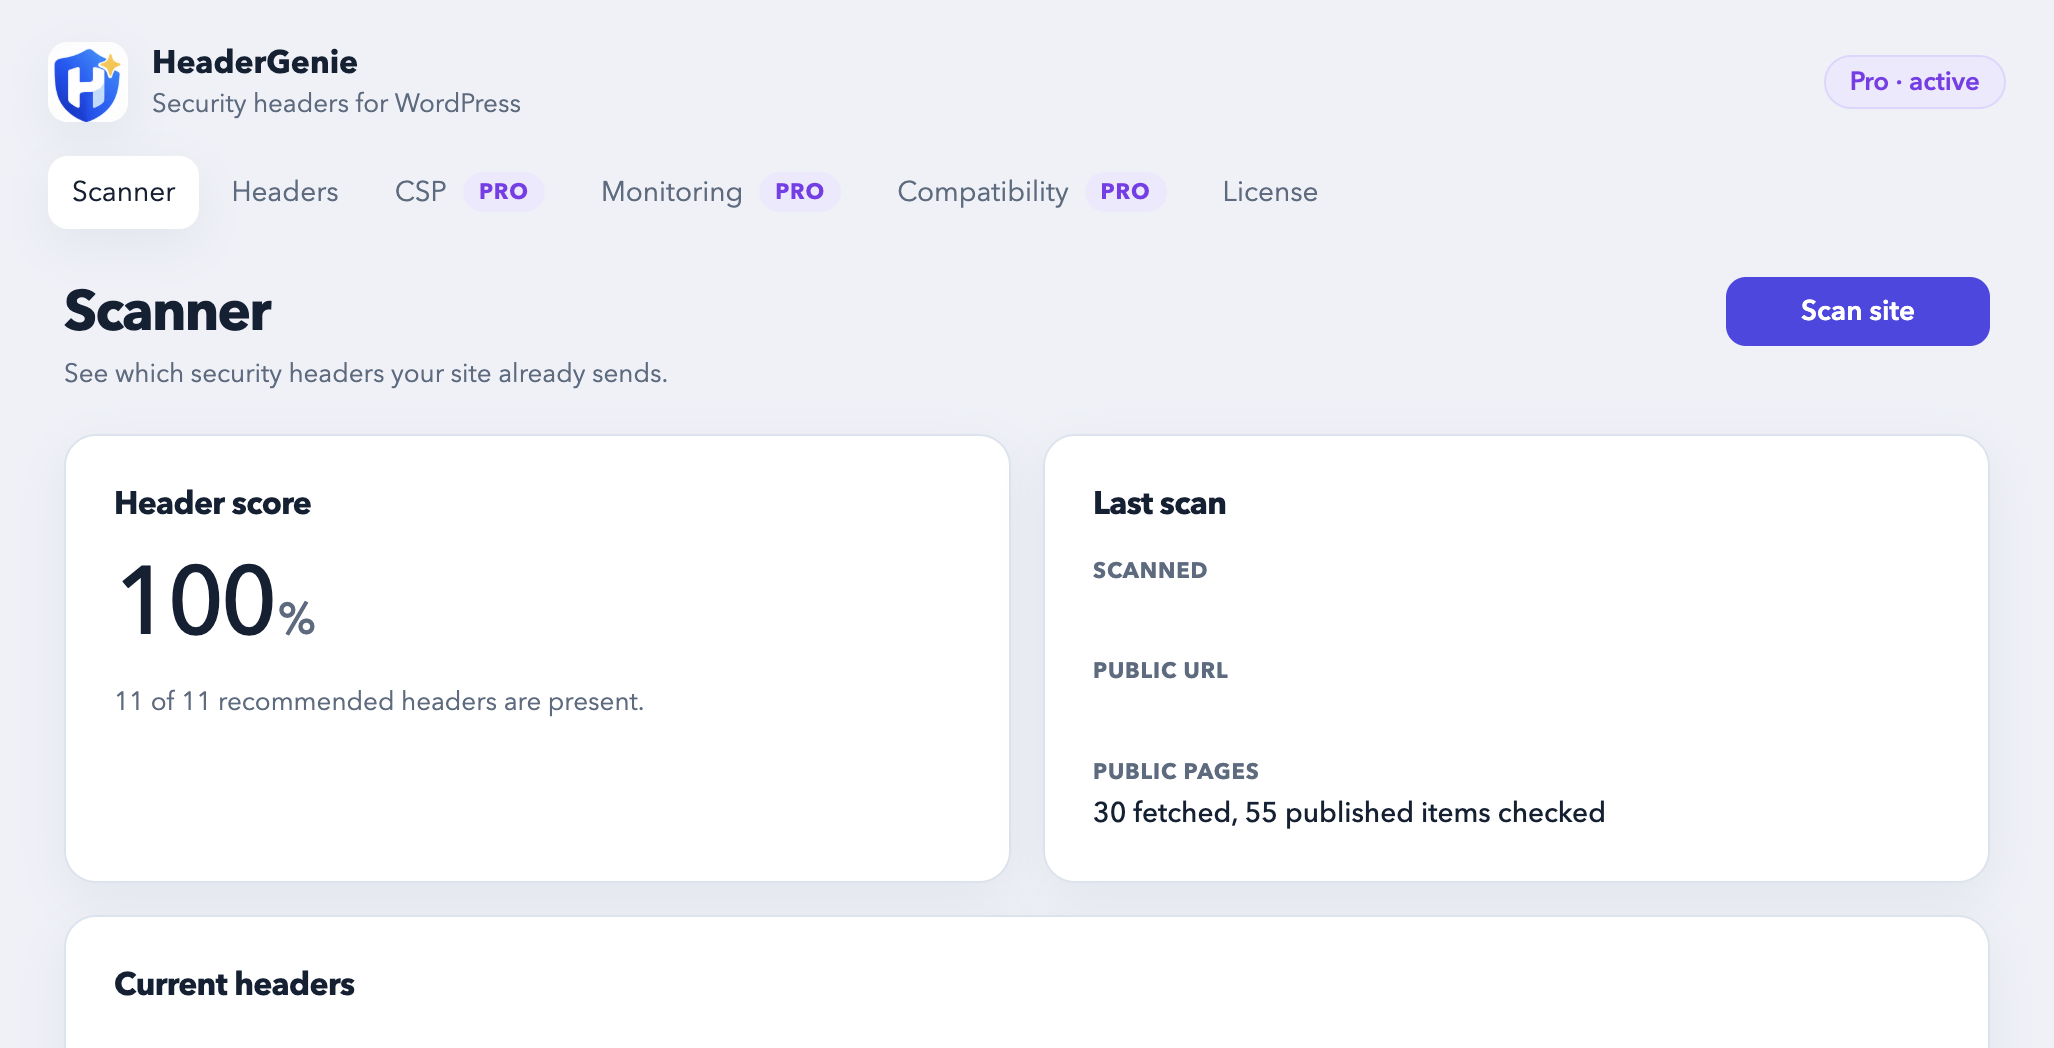
After you upload the zip and activate the plugin, HeaderGenie appears in the WordPress sidebar. That is the whole admin UI: Scanner, Headers, CSP, Monitoring, Compatibility, License.
Free · no licence
The free plugin is the first half of the grade. You find what is missing, then send the headers scanners expect, without a key.
After you upload the zip and activate the plugin, HeaderGenie appears in the WordPress sidebar. That is the whole admin UI: Scanner, Headers, CSP, Monitoring, Compatibility, License.
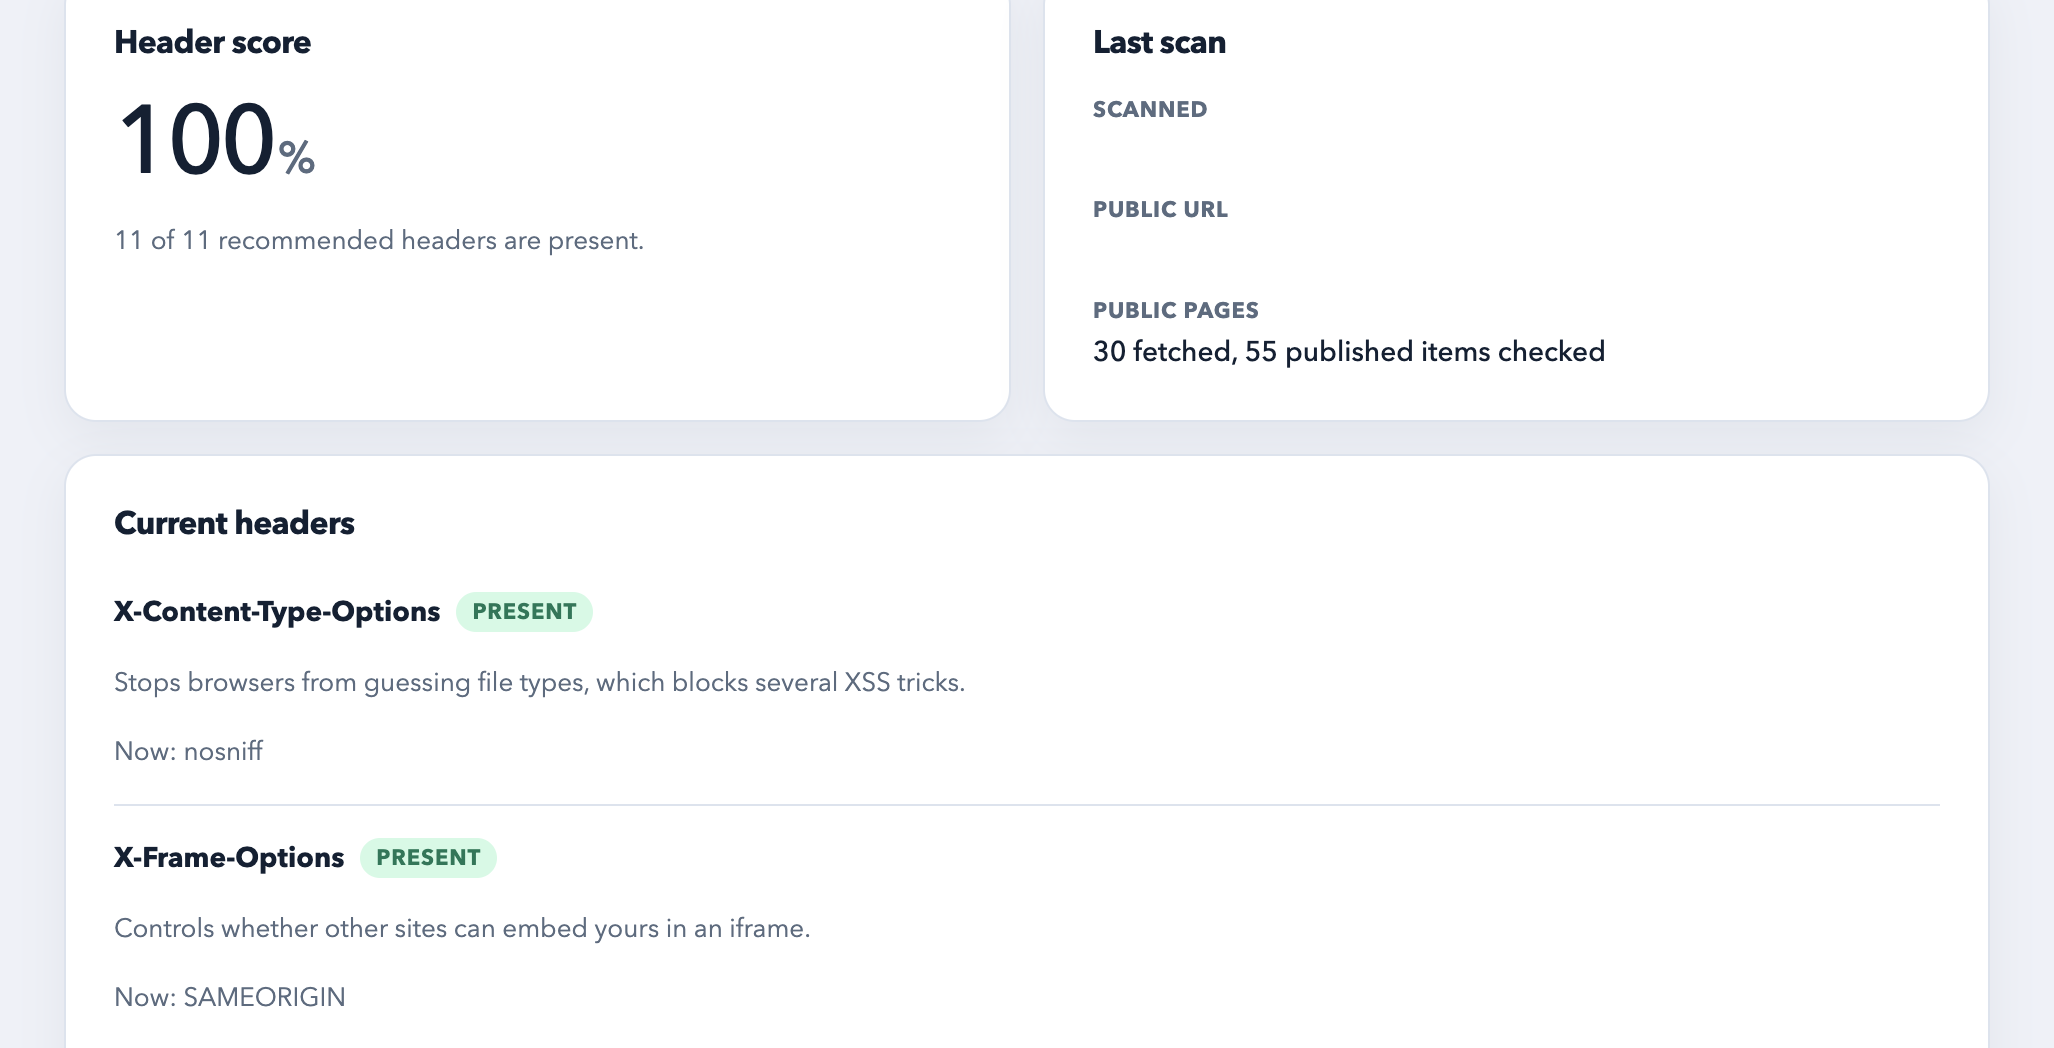
Scan before you change anything. The plugin checks public pages — the same surface SecurityHeaders.com sees. A failing first scan is the F you are about to leave behind. On a finished site the score reads 100%.
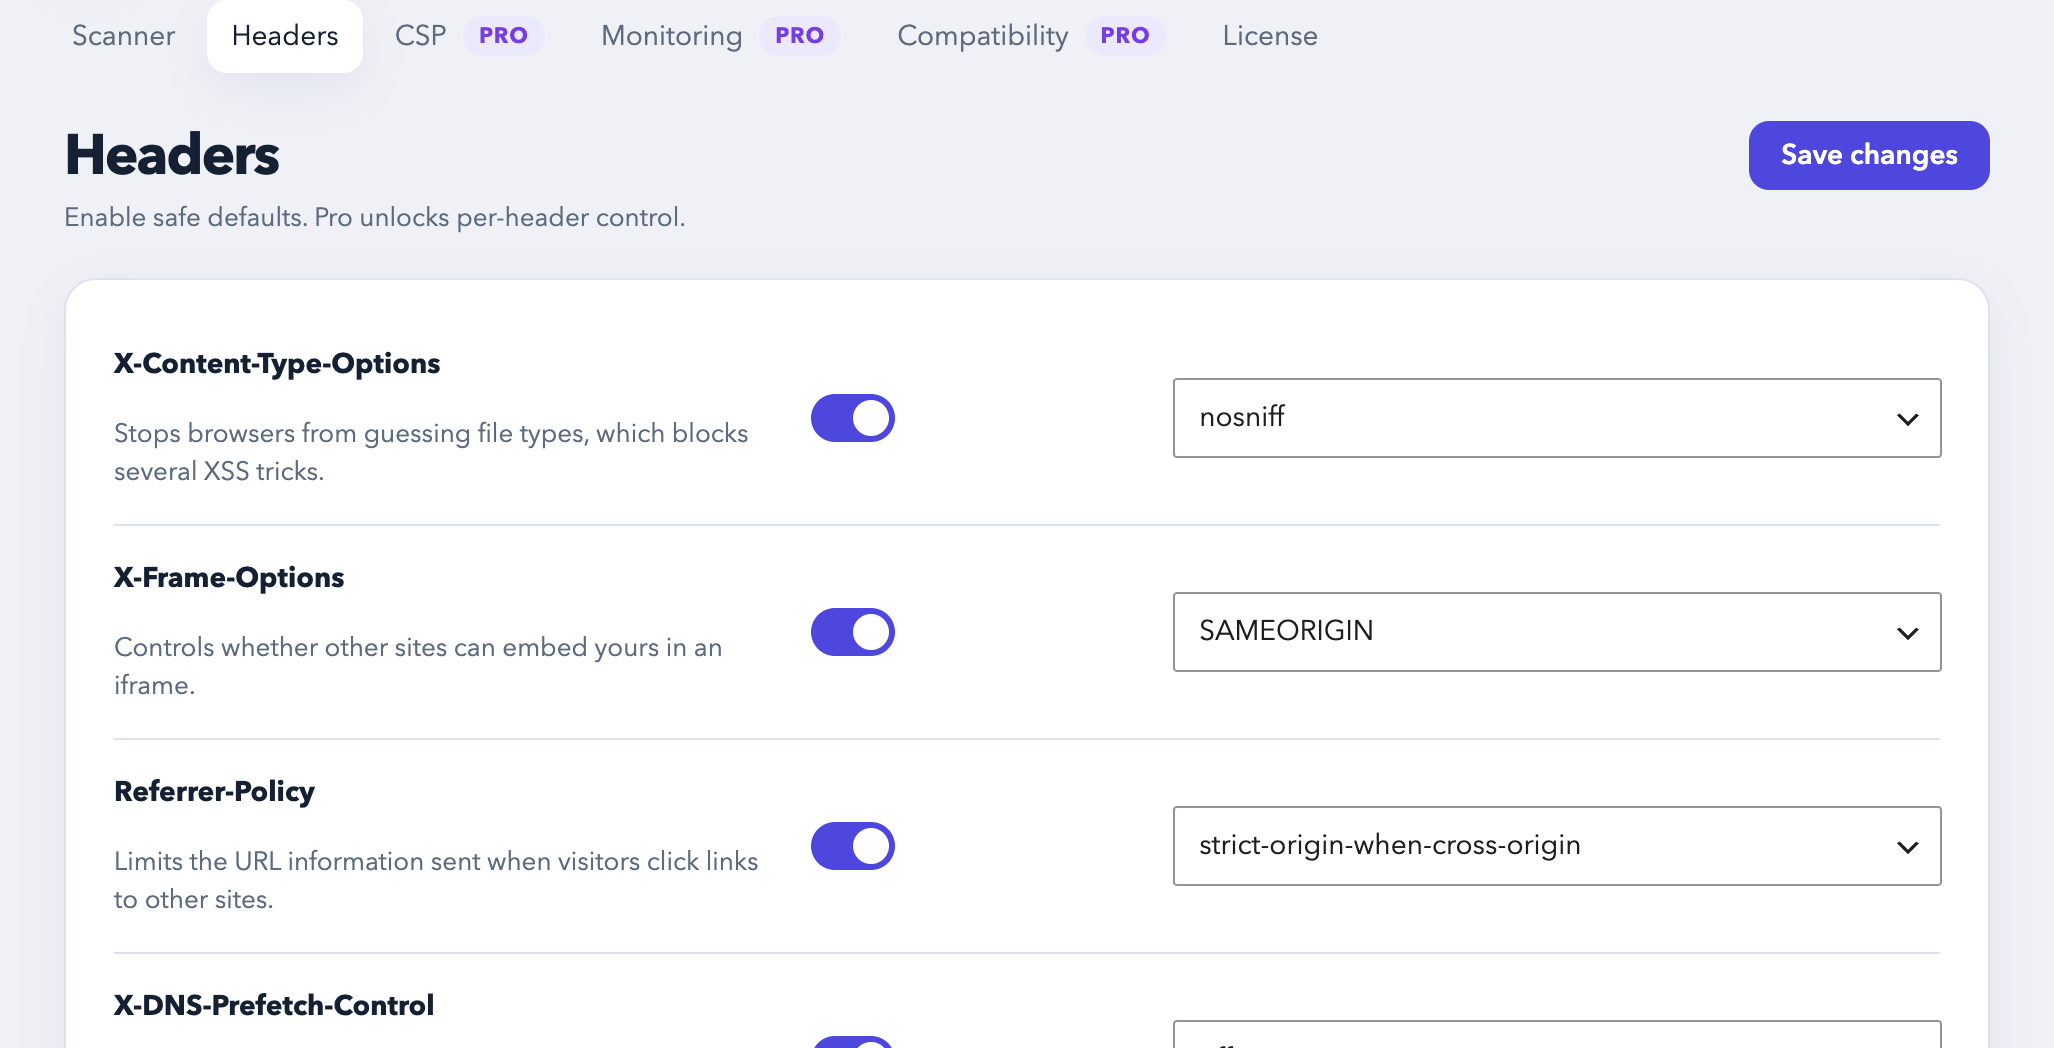
On the Headers tab, enable the conservative set: X-Content-Type-Options, frame controls, Referrer-Policy, and HSTS on HTTPS. These do not need a HeaderGenie account. Permissions-Policy and the isolation headers wait for Pro.
The easy findings should clear. What remains is usually Content-Security-Policy — the header that actually moves a scan from “better” to A+. That is the Pro half of the walkthrough.